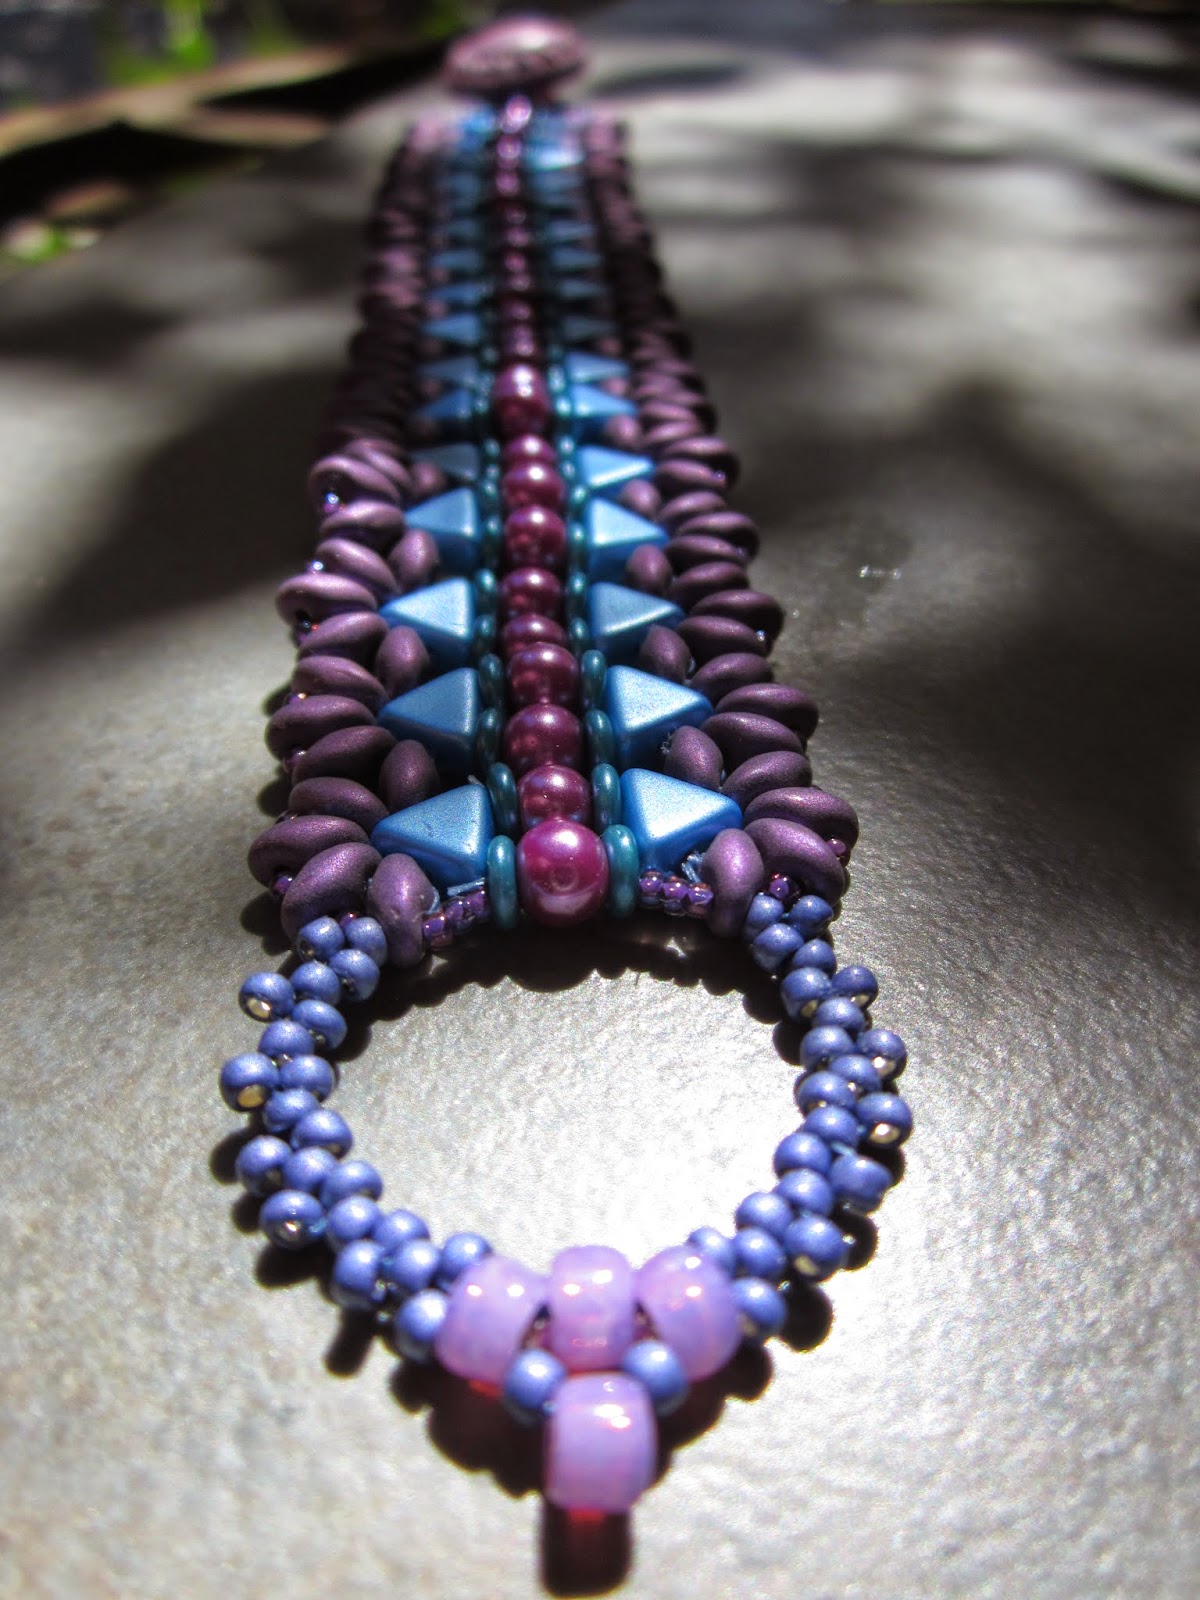
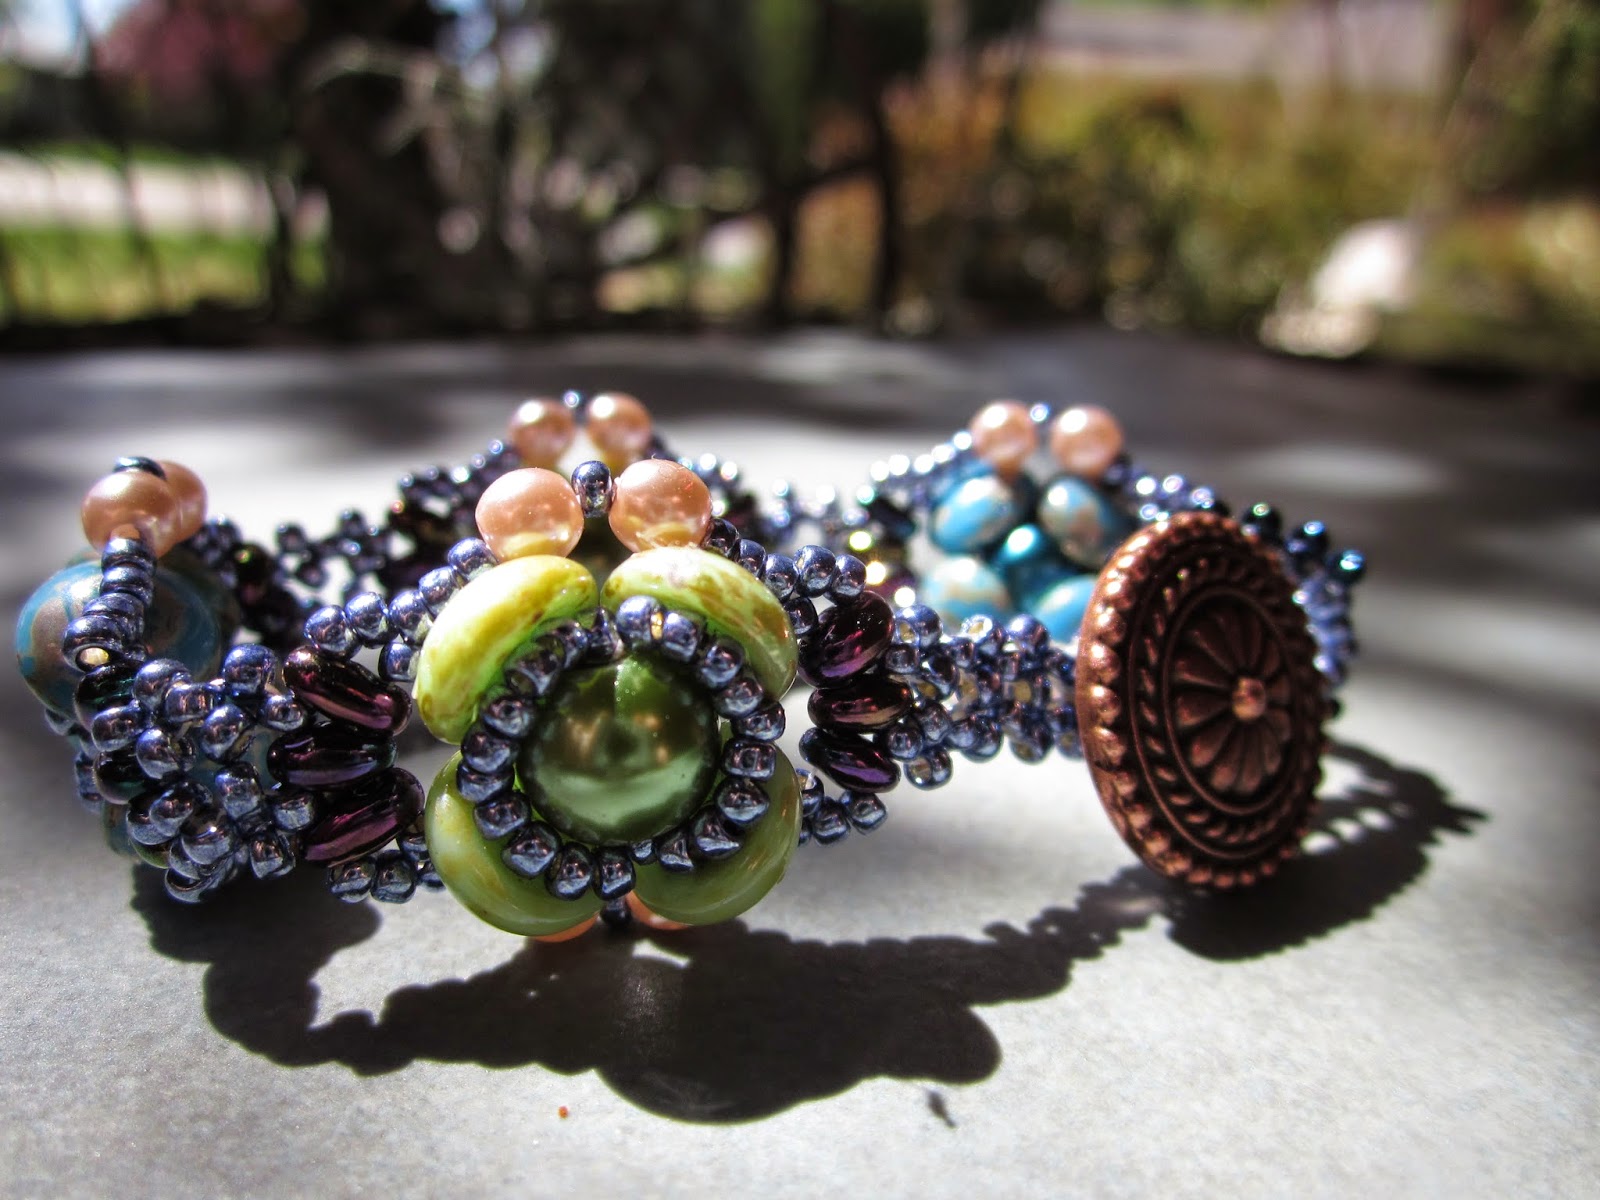
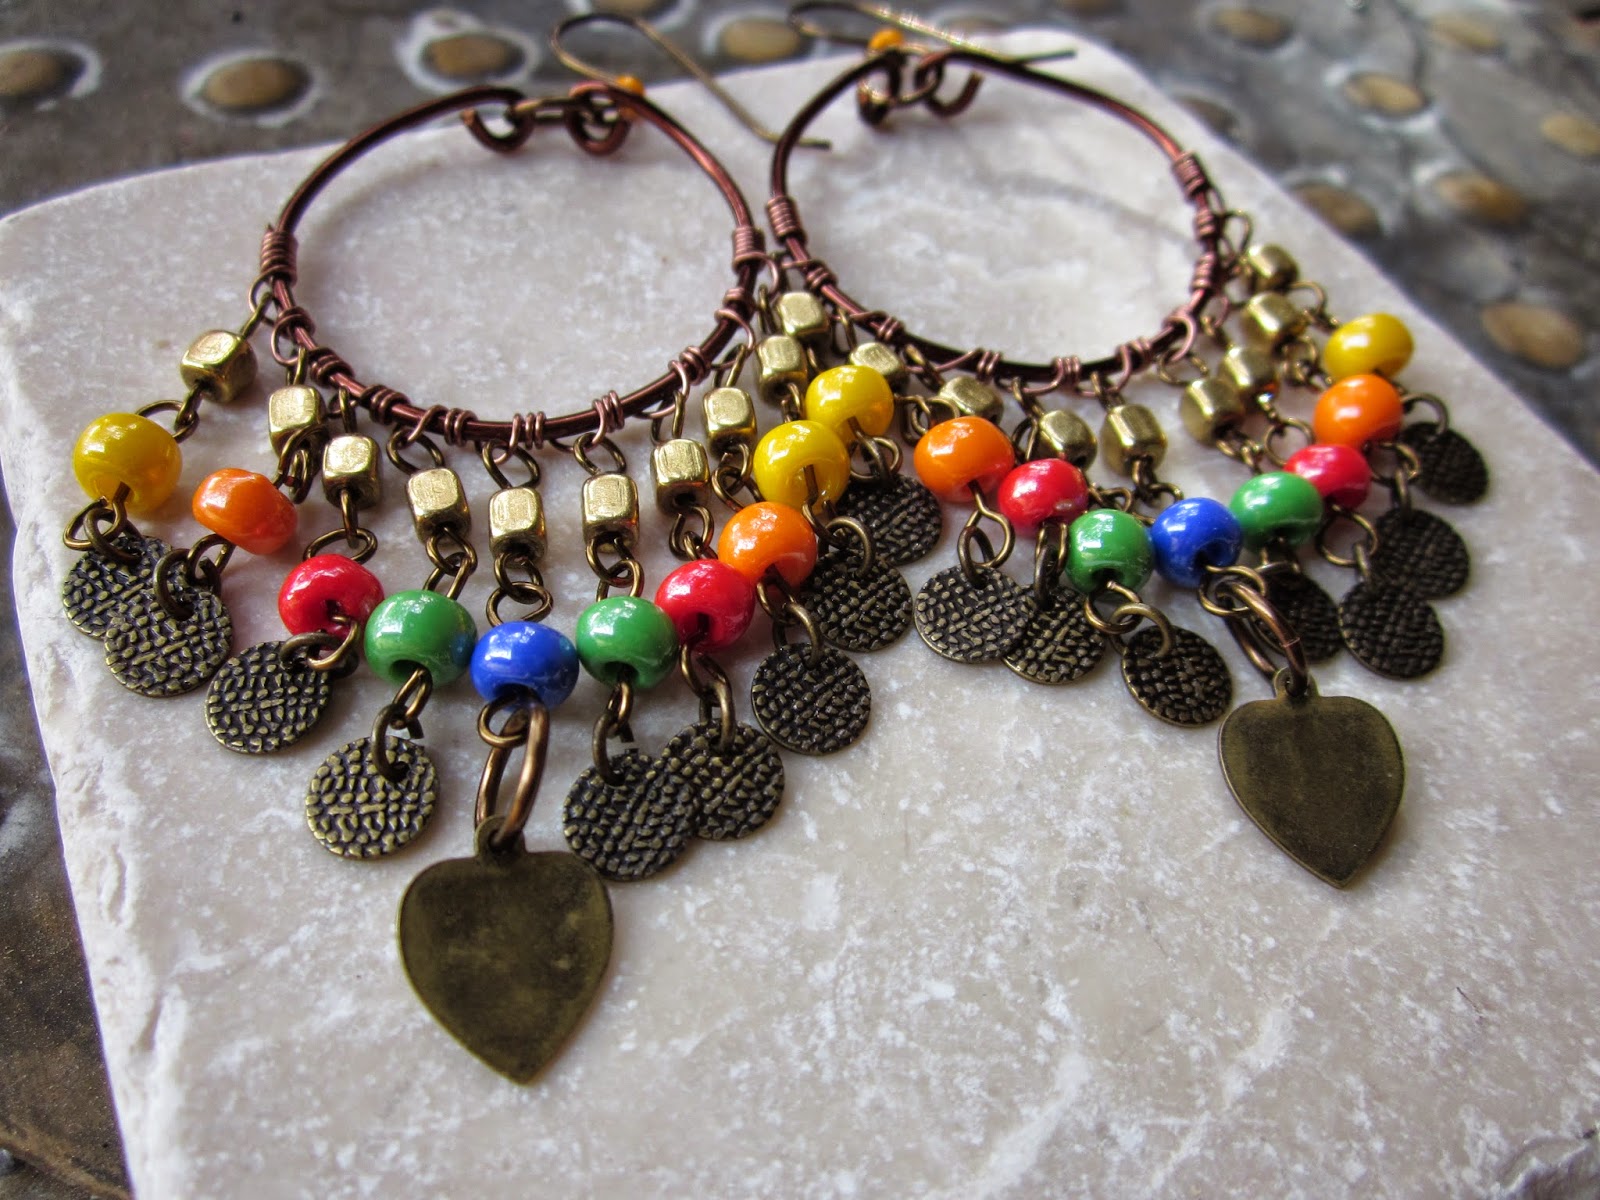
| There are truly so many new beads becoming available, that it makes my head spin, but mostly my hands move a little faster! This is another design by Akke Jonkhof Akkesieraden, she named "Bracelet Kheopatra" taught by Sandy Taylor at Bead Street. Another very interestink name for a beautiful design. And, these new triangles - oh my. Thicker and really fun to use. They are 6mm and called Kheops. They actually have 2 holes drilled parallel through the bead. And, what I learned is that you need to pay close attention as you add them in any pattern, so you have the top of the triangle headed the right direction. Love this turquoise/purple combo. |
4/30/2015
NEW 4-HOLE KHEOPS TRIANGLES
4/28/2015
EARRINGS TO MATCH SHIMMER.
4/20/2015
COLOR makes my heart SING!
A most beeeuuuuttteeeeeful new design by Eileen Barker, owner of Bead Street, named "Brookside", taught in a class by Susan Weber. Of course, I chose to make it as colorful as possible (imagine!) with as many spring colored beads I could gather spread out on my mat. The orange/peach/pink/rose combo with all the turquoise/green/yellow/metallics is so much fun. This is a substantial bracelet and quite the wrist statement. It starts with RAW and works out from there. It also incorporates many fun 2-hole beads, including super duos and piggy beads.
Some darlin bird earrings with multi colored piggies dangling below...
And, last, but certainly not least, a fun color of a necklace, a slightly different version of the bracelet pattern, with three sections stitched together as triangles with double chain to hold in place. I tried one chain on either side, but the middle triangle kept trying to invert, so a jump ring linking the two separate chains seemed to give it a little more stability and made the diff. It now lays nicely!
I went back and added on to this necklace, below, so it would lay better around my neck. Added in the rounds along the chain, and it really helped keep the chain separated and straight.
Some darlin bird earrings with multi colored piggies dangling below...
And, last, but certainly not least, a fun color of a necklace, a slightly different version of the bracelet pattern, with three sections stitched together as triangles with double chain to hold in place. I tried one chain on either side, but the middle triangle kept trying to invert, so a jump ring linking the two separate chains seemed to give it a little more stability and made the diff. It now lays nicely!
I went back and added on to this necklace, below, so it would lay better around my neck. Added in the rounds along the chain, and it really helped keep the chain separated and straight.
LOTS OF SHIMMER AND SHEEN!
Pictures do not do these new silky beads justice... let me just start off by saying that...
"Simply Silky" design by Akke Jonkhof Akkesieraden, taught by Sandy Taylor at Bead Street. Using the newly available Czech 2-hole silky square angled beads and Bead Street has them! They have quite the multi-color shimmery finish--and for this bracelet, I wanted a combination that would pop, and by George... I think I've done it! The purplish sheen, coupled with the "bright" blue super duos, and purple Czech O rings are so loverly! Then I added copper 15/0 sb around the outside of the super duos to finish it off. I'm quite pleased with this one...
4/14/2015
NEW TWIST ON SPIRAL DESIGN
The spiral design has long been one of my favorites. I don't need to pull out a pattern, because I have this one down in my memory banks. But, this new version called "Briar Rose", designed by TrendSetter Emi Yamada, taught by Sandy Taylor at Bead Street, was slightly different. (Thanks for your patience with us, Sandy!) It took a few minutes to figure out how the triangles fit into the design, making sure which hole to go through on the first pass, in the right direction, and then connecting them to the center of 8/0 sbs to start the spiral twist. The 2-hole triangles really make it fun - especially when you can add in any color trio you want. You could probably even add more triangles if you chose. I used a beautiful size 8/0 sb in a copper/reddish permanent finish to make the center pop, which I think it did, and I think the purples and multi colored 11/0 sbs are more visible because of the center.
BLOOMING BUDS DESIGN
A beautiful new
"any season" pattern; very versatile for earrings, bracelet, necklace,
etc., in any combination of "bud" connector colors. Designed by Renee Kovnesky and taught by Sandy Taylor @ Bead Street. This work-in-progress
has now been completed. Yeah! I wasn't happy with a couple of my bud
connections, so I had to go back and disassemble and redo. It's the small things that make a difference in a completed piece...

The metallic permanent finish purple 11/0 sbs are so gorgeous in person. They really make the piggy bead/pearl/superduo combinations pop.
4/06/2015
BOHEMIAN STYLIN'!
One of my favorite Baristas was wearing an incredible pair of earrings - they were layered beads and brass leaves, and I asked her if I could take a closer look to see how they were made. She was so gracious and took one off so I could really inspect it. Then my head was aspinnin (is that a word?) with the possibilities and I couldn't wait to get to my beading table to get started with some size 18, 20, 22 and 24 gauge wire. Her beauties fashioned more earth tone beads, and there were more layers, but as I made mine, more layers would have been too long for me, and of course I wanted to use bright colors for spring/summer, so the whole vision of them kind of took a different turn. Some of my steps are shown below, with the completed earrings at the bottom. Lots of wire wrapping, and wire twisting, but aren't these fun?
Step 1 - make wire round in the loop size you want it, with 18 gauge wire, and loop ends. Step 2 - start wire wrapping about the middle of one side of the round using 24 gauge wire, looping after every 2-3 wraps, so you have a place to hook your next layer - go all the way around to other side, half way up. Step 3 - Start making basic wire wraps with a metal square or some other bead of your choice and attach to the gauge 24 wire loops.
|
3/24/2015
WIMSICAL CREATIONS FOR EASTER
I've been having some downright fun! Spring brings forth lots of awesome color and playful art ideas roam around in my head . . . from decorating my house, to making little art pieces and projects, to my favorite thing, creating new jewelry. This post includes nothing too serious or beautifully woven . . . just some bright colors and some fun, using whatever I found or have -- plastic buttons from the craft store (I love these, they are so cheery!) to metal charms, some kinda heavy, but adorable nonetheless, and some miscellaneous beads, with wire, lots of wire in 18, 20, 22 and 24 gauges. You'll see in some of the earrings, I wire wrapped using 24 gauge, onto a more sturdy base of 18 gauge. I smiled with each completed piece!
| A set -- these earrings just completed to go with the necklace below! |
3/19/2015
PIECES COMBINE TO MAKE A WHOLE!
I love having a "project" on my beading table, so when I get a few minutes I can just start where I left off and not have to think about what beads or colors I want to combine for a project. That early process takes me a bit of time... determining color, size, shape, 1-hole, 2-hole, now 4-hole. So many options and where to begin? So back to this project, which is already determined, I just need more time. I'm still working on the individual X-spokes (using the new 4-hole quadratiles), and then combining each X-spoke, either with 2-hole tiles or just another X-spoke. It's a 2-sided design by Kelly Wiese named X-Factor, taught by Sandy Taylor @ Bead Street. In a couple of the pics below you can see the start of another X-spoke, which will give you a better idea of how small each one is by itself. It's gonna be pretty! Stay tuned for the finished product.

3/04/2015
FIRE LINE CAN MAKE -- OR -- BREAK -- A PROJECT!
Oh, fireline... how I hate thee sometimes! I made this beautiful new pendant, designed by Vezsuzsi, and as I got ready to put on the last few 15/0 sb, I started to bend it oh so gradually, to look at those little 3 mm fp which kind of get hidden in the pattern, and it paid me back for that bend, by gradually disintegrating before my tearful eyes! You can see at the top of this blue beauty that the layer is coming away from the center. So, basically, fireline is perfect, until it's not. I think those cute little fp I used may have been sharp at the drilled opening, but I can't be sure. There are several other beads in this piece that could have assisted with the disintegration, but if fireline can catch a fish without breaking, why oh why can't it string a dang pendant? It can, right? Catch a fish that is? But, alas, since I will not allow myself to be discouraged for long, I started once again, using a different color palette, and I was cautious and conscientious about my tension on every round! Tension, tension, tension, and sharp beads, make the diff I guess. Thank you, Sandy, for letting me quietly sob.... kidding... Thanks for a great class! No matter what happens in my learning cycle, I always enjoy that creating time with my beading sistahs at Bead Street.
3/02/2015
TWO SIDED BEADED BEAD STATEMENT PIECE!
Subscribe to:
Posts (Atom)