Showing posts with label antique brass findings. Show all posts
Showing posts with label antique brass findings. Show all posts
11/28/2016
FALL LEAF REMAKE
I love it when a piece of mine speaks to you, enough so that you want one of your very own! That's what happened with my Falling Leaves Ensemble posted on September 27. Here's a slightly altered version of the necklace and earrings made by special request. Just enough of a change - different pendant hanging from the newly beaded necklace, with some wire wrapping and Swarovski dangles, along with new shorter version of leaf matching earrings.
3/24/2015
WIMSICAL CREATIONS FOR EASTER
I've been having some downright fun! Spring brings forth lots of awesome color and playful art ideas roam around in my head . . . from decorating my house, to making little art pieces and projects, to my favorite thing, creating new jewelry. This post includes nothing too serious or beautifully woven . . . just some bright colors and some fun, using whatever I found or have -- plastic buttons from the craft store (I love these, they are so cheery!) to metal charms, some kinda heavy, but adorable nonetheless, and some miscellaneous beads, with wire, lots of wire in 18, 20, 22 and 24 gauges. You'll see in some of the earrings, I wire wrapped using 24 gauge, onto a more sturdy base of 18 gauge. I smiled with each completed piece!
 |
| A set -- these earrings just completed to go with the necklace below! |
12/16/2014
SNOWMEN AND DUELING BRACELETS
First, some snowmen to add some smiles to this stressful time of year. These can't help but make you grin! Their scarves keep them warm too, don't ya know! :)
This is a Vezsuzsi design named Leo Bangle, also taught by Sandy Taylor at Bead Street. I'm having a devil of a time getting a decent pic of this bracelet. It doesn't matter if its taken inside or outside. It wants to show more pink tones, but it's really a true beautiful red--disappointing. It drapes beautifully around the wrist because it is designed to be a bangle, but I made it a clasp instead. I like to be able to size it closer to my wrist size and bangles don't work so well for that.
Next, a fab, albeit very time consuming, bracelet design by Marcia Balonis named "Whistle Stop", taught by Sandy Taylor @ Bead Street. It's a gorgeous pattern, and well worth every moment I spent beading away... I wanted a mixed metal look, so used matt silver lentils on top/gold sb and copper/orange/redish fire polish w/reddish/brown bricks. I don't know the exact color names of what I used, so don't you love how precise my descriptions are? Ha. This bracelet feels really nice on the wrist too - it's one of those that feels great next to the skin and it moves with you.
This is a Vezsuzsi design named Leo Bangle, also taught by Sandy Taylor at Bead Street. I'm having a devil of a time getting a decent pic of this bracelet. It doesn't matter if its taken inside or outside. It wants to show more pink tones, but it's really a true beautiful red--disappointing. It drapes beautifully around the wrist because it is designed to be a bangle, but I made it a clasp instead. I like to be able to size it closer to my wrist size and bangles don't work so well for that.
11/19/2014
READYING FOR CHRISTMAS!
I KNOW, I KNOW, it's not Thanksgiving yet, but I have to be ready... This is my Christmas version of a fun pattern called "Tubari" designed by Eileen at Bead Street. It's a modified tubular herringbone stitch, using 8/0 sb and Unos. The original pattern used Rizos, which made a lovely piece, but I also like to experiment. I finished it with bronze bead caps and then wire wrapped a couple of 8mm FP and a bronze crystal, with chain. The earrings I wire wrapped, using a larger bronze colored bead for the center (it's light weight tho - not real brass), with a green crystal and red 8mm FP.
9/24/2014
DRESS EM UP OR DRESS EM DOWN!
This is a piece meant to be worn by that special person - fit to wear when all dressed up, or in levis and boots! It always takes me awhile to get all the pieces and parts of any project assembly out on my table in view so I can complete my visualization... sometimes several different combinations of pieces and parts - and, this piece was no exception - although, once I had that "aha" moment, I was so pleased with my JDreams Design. Plus, this piece was designed with a very wonderful BFF in mind, so I let my Lu Lu vibes fill my heart, and that was that!
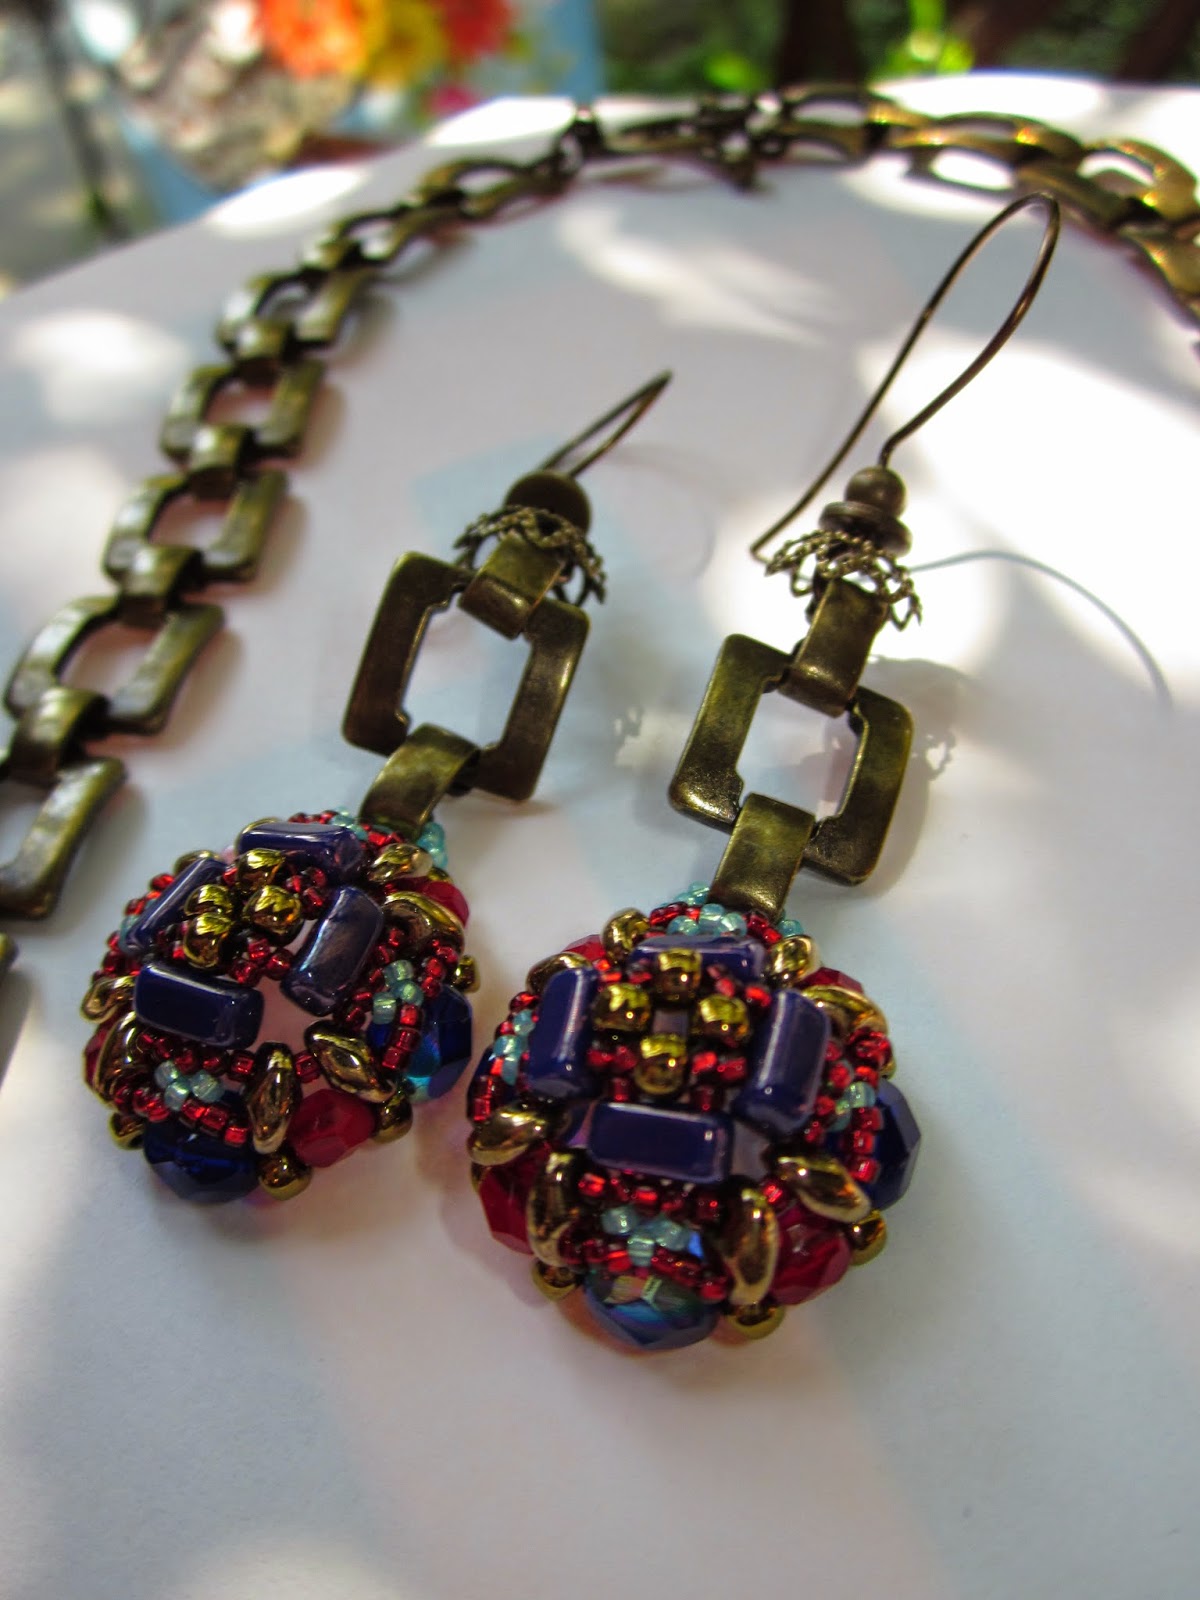
The beaded bead design from Vezsuzsi (shown in a previous post) lent itself well to my overall design! The initial beaded bead colors I owe to Irene at Bead Street, as I probably would not have put this combo of colors together on the first bead (lowest on the necklace). Once I had that bead complete, I reversed the colors somewhat on the next version - the one on top w/more turquoise colored seed beads. It's just a rich looking piece I think...
Subscribe to:
Posts (Atom)


