


 |
| This is the underside view of the pendant. I think it's pretty great as well! It gives a better picture of what the building block beads are for the structure. |


|
| This is the underside view of the pendant. I think it's pretty great as well! It gives a better picture of what the building block beads are for the structure. |

 I do quite a bit of wire wrapping, but there is ALWAYS so much more to learn. New ways to do things, new tools to use, etc. So, I had a free Saturday and Beth Routhier was teaching a dainty wire wrap "Floating Infinity" design class @ Bead Street so I joined the group! It was definitely a learning curve for me, just holding the pliers so as not to mar the thicker wire took some time - I bead tight - but it was oh so fun and I did learn so much. I learned about bail making pliers, and how to patina. I've wanted to know that technique for so long, and now I know (really, enough to be dangerous!) Love this pattern - thank you Beth! I went home and finished the hook closure, even though I originally thought that type of closure would be too difficult for me to connect on my wrist, but it was a cinch! I also made some darlin' butterfly earrings to match. As time permitted over the weekend I made a second bracelet in blue hues. I'm now hooked on using 16 and 18 gauge wire (I usually work with 20-24 gauge), and using these bail making pliers in differing sizes. PLUS the patina process - love how it makes the copper wire look, without having to wait so long for the natural aging process.

 |
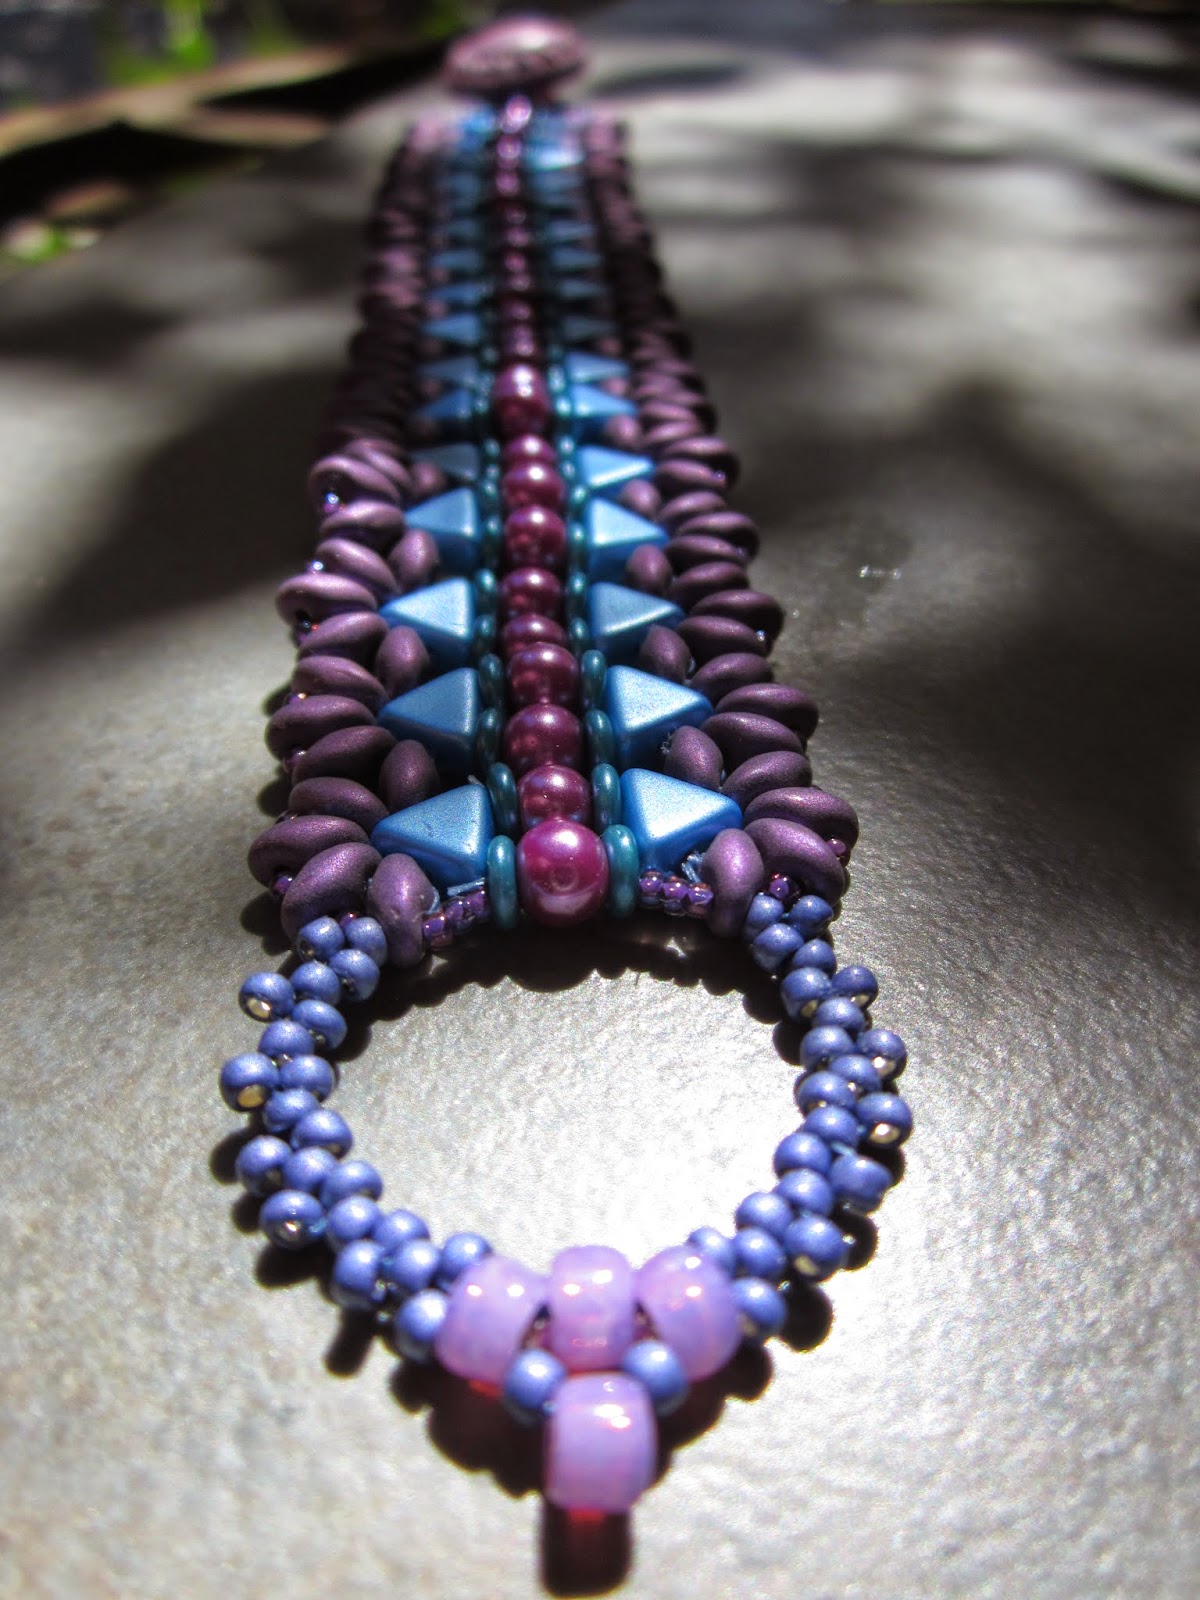
| There are truly so many new beads becoming available, that it makes my head spin, but mostly my hands move a little faster! This is another design by Akke Jonkhof Akkesieraden, she named "Bracelet Kheopatra" taught by Sandy Taylor at Bead Street. Another very interestink name for a beautiful design. And, these new triangles - oh my. Thicker and really fun to use. They are 6mm and called Kheops. They actually have 2 holes drilled parallel through the bead. And, what I learned is that you need to pay close attention as you add them in any pattern, so you have the top of the triangle headed the right direction. Love this turquoise/purple combo. |



 |
| NOW FOR THE NEW DESIGN using the new Czech "O" Rings. A bracelet designed by Marcia Balonis, taught at Bead Street by Sandy Taylor. A different grouping of colors for me in that I really started out wanting to make something that would go with black. I started with the 4mm dark grey fire polish, had additional 3mm black fp on my beading pad, but then couldn't go through with it. I needed something to make the copper/silver/grey pop, so used more of a mustard 3mm. This is really fun - colors in person are really more unusual and blended than it shows here. |


