Showing posts with label Peyote stitch. Show all posts

2/28/2018

STITCHIN' EARRINGS!

It's a great time of year (especially since we seem to be experiencing more wintery weather now than we have all season!!) for bead stitching, which translates to fun/colorful earrings and dangles.  Peyote and brick stitch are a nice change of pace, and so versatile - large, small or somewhere inbetween, with just about any design.  Add some fringe to finish the project off, and oh my my... Well, give these a look see and let me know what you think.  A variety of color and size, and all very light on the lobes.

The next two earring designs are my own -- but there are so many variations out there on many different sites or in magazines, the ideas are only as narrow as your own imagination.  I'm especially proud of the first pair - the turquoise and copper.  I started stitching and came up with the design as I went, so it's a JDreams original!  The fringe really makes the design.  The purple color combination is hard to miss, a bit less dramatic design and smaller size, but still gives an incredible pop of bright.


A side by side shot to provide sizing perspective.


 And, below, I thought this view from the end of the fringe was a cool shot!  The turquoise earrings have Super Unos at end of fringe, and the purple earrings have small drops.  I love the change in look by altering one thing (or a few!).


Next, earrings using instruction and design from Jill Wiseman called Russian Leaf.  I struggled with this design at first - it called for 6 lb fireline, but the earrings would not hold any shape - very flimsy - so I ended up cutting up the first earring and redoing it using 10 lb fireline, which was much better and held the dome shape.   

I make all my own earring wires, mostly using copper wire.  Copper is my metal of choice.  And, the wires below are fun with a bead wrapped on top for a bit of extra, and to coordinate with the 6 mm fp in the earring design.


And, last, but certainly not least, this beautiful design from Robin Smith and Linda's Crafty Inspirations blog.  I didn't even notice there was a heart in the original design, but I added a few seed beads here and there to shore up the tension and there it was... one of my most favorite things - hearts!  These are so dang fun.  I added the raku looking rounds with the 4mm marbled fire polish and I think they truly make the combination stand out.


2/16/2018

Creation Post Valentine's Day!

I meant to post my latest Heart creation on Valentine's Day, but time would not allow, so here it is a few days late.  Better late than never... My friend Judy get's full credit for the idea.  She had made herself a lone heart necklace, so I copied her idea, made it bigger and lopsided, and changed directions four times.  She also had the best idea to peyote stitch a link for the necklace, so I did the same, using several colors to tie it all in.  I have to say that CRAW stitch is so much fun to twist and turn... and then to embellish, which helps stiffen up the shape.  And to think I was afraid of this stitch just a month ago.  Time and practice heals all fear!!  I added a gorgeous red sari ribbon for just the perfect softness and finish -- love me some ribbon!  Thanks Judy for sharing your awesome idea. 


And to finish it off, some darlin heart earrings I made a year ago.  These go perfectly with this necklace.  I used 16 gauge patinaed copper wire to form the heart shape, and then brick stitched around the heart.  


8/19/2016

POLYMER CLAY MEETS PEYOTE!

An unlikely pairing you might think!  Peyote stitch around a wonderful polymer clay Day of the Dead pendant?  I think the contrast works great, but getting to just the right contrast was a challenge.  It took me two very long attempts to get it right.  I spent several hours on the first version, which just wasn't coming together - hate it when that happens.  But, finally, my "aha" moment - also love that reverse side of things when it happens!  The polymer pendant is from one of my go to favs, Staci Louise Originals, and it has an incredible reverse side as well.  Staci makes her pendants wearable on either side, which I love, and this set, for the fall, Halloween and the Day of the Dead celebration, is just plain fun!  The earrings came first, and were in my last post, with the hope that a necklace would follow and be a compliment.  I think I accomplished that...


8/04/2016

MIX N MATCH OF SUMMER!

My creative inner beader has suffered this summer.  Seems like being outdoors, in our garden, sitting in a chair sipping a lovely cold beverage, or a variety of other nice weather activities have all taken priority for my available time.  I do miss my "creative self" right now, but I guess not enough to get back to my routine.  Soon enough I keep saying... so for now, here are my very few projects completed since my last post. 


Some adorable little Cubic Cuties, as the stitch designer, Anna Elizabeth Draeger, calls them.  They truly are adorbs in my earring design!  It did take one of my beading sistahs and myself a little time to get the cube thing down, making it fit together evenly.  Unfortunately, you can't see the Swarovski crystals in the peachy/turquoise pair - they are hidden in the center of the cube, but they are the same color as just above the drops.  Thanks one more time Sharon for the wonderful idea of the 6mm bugles, and for sharing some with me.  They pretty much put the finishing touch on the cube in my opinion!


This darling necklace is my design, using one of Tracee Dock's (Classic Bead) adorable ceramic pendants, along with some free form wire wrapping and bead stringing.  I have many many of Tracee's hand crafted artisan pendants and beads, and I keep them safe -- until I am ready to let go of one.  They are all unique and wonderful.  This one is no exception.  A posie in greens and yellows.  So cute! 


And below, one of my works in progress... Nope, it's not quite done -- close -- but not done.  It's a very fun bracelet, but peyote takes some time, and getting the right 8.0 sb to "puff" for the diamonds, around the 11.0 sb base, took a bit.  I love the bright colors... big surprise! Yep, I'm almost done.  One more row of blue/turquoise transparent drops down one side and it'll be ready for wrist viewing.  Ha ha!


5/18/2016

ANGLES DIVINE!

A design by Robijo Burzynski called Equilateral Earrings!  The project was for earrings, but the size was more conducive for a pendant - and it was kind of time consuming on my first go-round.  Love the way it turned out though and the angles of it all - the tubular peyote, along with the herringbone stitch, really makes this pattern unique.  Very different styling for me and well worth the effort!    I saw the design in the June/July 2016 BeadWork magazine and just had to try it.  These colors are perfect for my spring wardrobe.  In fact turquoise is kind of a staple with me - in all shades from light to dark. 


Some darling little beaded bead earrings to go with - I didn't make them to go with the pendant, but they sure do!  Love it when that happens.  Right now I'm definitely into this color combination can you tell?


7/10/2015

MY OWN INTERPRETATIONS!

Summer gets so busy... and it's tough to stay on any kind of regular schedule, and expanding my beading brain has taken a back seat of late... but I have a few new completed projects that are my own creations and I'm quite proud of both!  One is stitched and one is wire wrapped.  And, I do have a couple other wonderful projects, which I hope to share on this blog very soon.  They are quite spectacular, designs by my mentor Eileen @ Bead Street. Stay tuned for those...

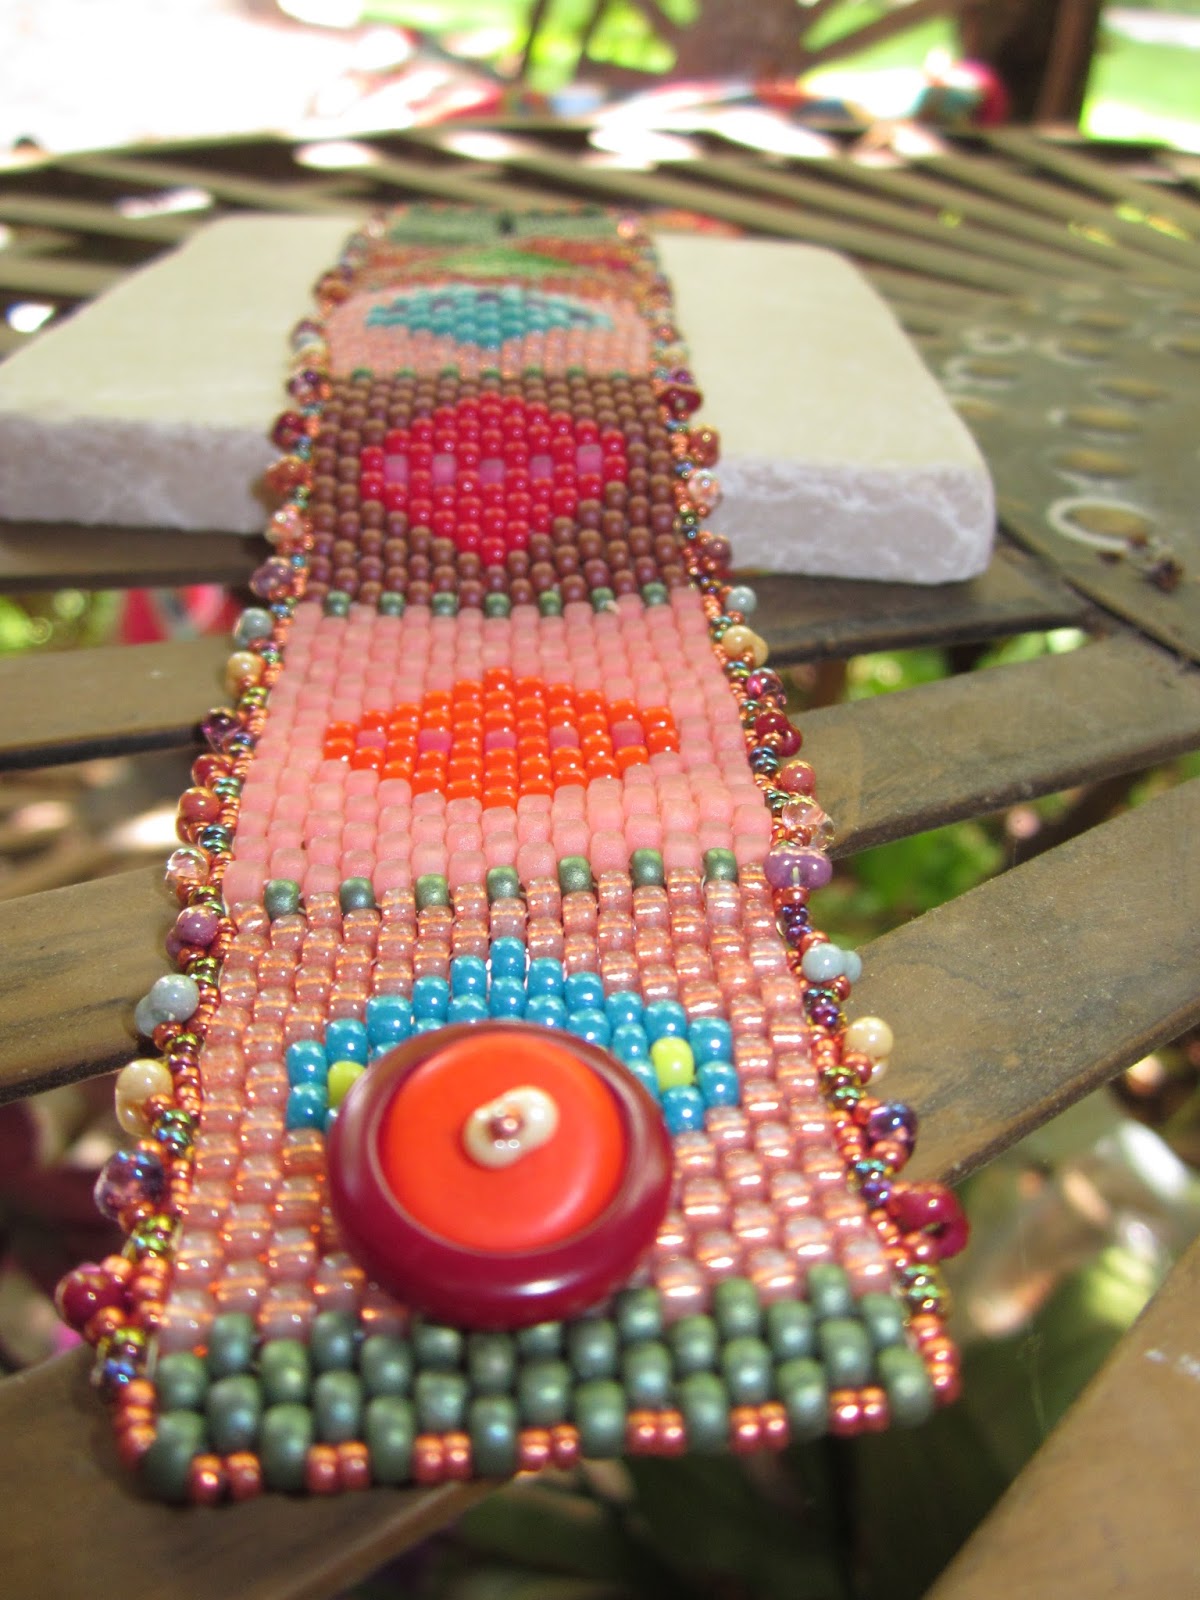
Making a button hole in peyote was a first for me on the bracelet.  It took me a minute to figure it out - as I started stitching the slit sideways instead of up and down with the flow of the beads.  Figured it out pretty quickly, and like how it turned out.  My button is a tagua nut round, with a magnesite disk that just fits inside, with a peanut bead and 15.0 on top.  I love the peanuts around the outer edge.  I tried several different things, but the peanuts seemed to mesh the best with the design of the bracelet.  I tried o rings too, and they were a neat look, but ultimately the peanuts won out.


 My other JDreams design is below.  I used mixed metals to make the heart and wire wrap the shell beads for part of the chain.  A special gift for Teri in my office.  She has been soooo helpful to me this past year and I wanted to do something special for her birthday.  She rides a darling covered scooter, and I found this charm with her in mind, and JUST kind of built it from there.  This necklace and earrings came together like it was meant to be!  Thank you, Teri!


2/13/2015

2-HOLE PYRAMIDS 'N' BRICKS


Been a couple of weeks, as I've been unable to get to my blog, and also I've been in Montana visiting our son and daughter-in-law.  We have a beautiful new granddaughter, so I was incredibly fortunate to spend some time with these great kids, my new girl, Lily, and her brother Noah, who is 3 this Sunday.  Oh, it's so glorious to be a grandparent, and now to have a girl, well... need I say more?  Two grandsons and a granddaughter, and life is good.  

Here's my newest bracelet, a design by Vezsuzsi named "Rasmus" and taught by Sandy at Bead Street.  I have truly been missing my beadin' friends, and excited to get back to it this weekend.  This pattern used several two-hole beads, but the pyramids are my favs at the moment!  I mixed up as many colors as I could think of on this one, and really love how it turned out.  Lots of spring colors... purples, turquoise, the bright green pyramids, light purple 2-hole tiles, and multi-green 2-hole bricks.  Orange 8/0 sbs, turquoise 11/0 sbs and purple 15/0 sbs complement the design.  I added a magnet closure and peyote stitched it, to give it the final finish.


And, here's just a little peek at my darlins in MT...


12/05/2014

Snowflake Inspired Necklace

I love this modified tubular herringbone pattern of Eileen Barker's design - from a previous post - named Tubari.  In this version I added 3mm rounds to the 8mm sb and rizzos.  And, this beautiful pendant by Tracee Dock at the Classic Bead .  Perfect time of year for a beautiful artisan ceramic snowflake.  Tracee does beautiful work and I have several of her pieces, still waiting to be attached to that perfect stitch!


For the back part of the necklace I added some incredible Czech glass stones, and wire wrapped inbetween.  You can see the marbling in the stone in the closer up photo of the earrings below.  I also added little silver snowflake charms for a contrast to the copper wire.  I think that makes them stand out a bit more.