Showing posts with label JDreams. Show all posts

10/15/2014

HALLOWEEEEN/FALL FUN!

A little SPOOKiness for Halloween.  

Some darlin darlin fire polish pumpkins.  I started with a Fusion Beads beaded bead pattern from their inspiration page, did some extra embellishing with the leaves and the top stems, and voila!  These are very fun to make! 


Spider anyone???

Some earrings to go with that spider?

A wonderful tile pendant by J-Lynn Jewels.  I added a 4mm FP beaded beads in purple with orange 4mm FP added to  the outside to give a little depth, plus some old brass Ethiopian beads, some wood beads, and some charms to top it off.  Isn't it cute? 


And, last, but certainly not least, some awesomely fall inspired, fun earrings!  Czech glass leaves, Czech glass pumpkin beads, semi precious stones, and some Lucite leaves.  A great combo!


10/09/2014

Sugar Skull Fun

A new Artisan widening my horizons.  Very exciting to do something different - and I have discovered a new found appreciation for Sugar Skulls!  This Skull by Staci Louise Originals.  She is so creative  and inspiring on many levels, and I'm excited to have made my first purchase from her, and now my first original necklace design, using none other than a couple of her polymer clay designs.  Just in time for Halloween and the Mexican Day of the Dead celebrations.  Visit Staci's page and see what I'm talking about.  It's a new view for me...kind of out of my comfort zone.., and that's exactly where I need to be!

There's another of Staci's Artisan polymer beads on the right hand side with the wheel design.


I have had these ancient brass/copper beads (I think they are tribal handmade beads from long ago) just waiting for that right project, and here it is!  They were perfect, together with the rough cut Czech beads and the colorful new lucite feathers I've purchased from Eileen at Bead Street.  Quite a cross over of worlds in this one piece!
FUN FUN FUN!!!


10/08/2014

REDIRECTION OF A PROJECT

This was a fun project, and the colors were just oh... so gorgeous, but alas, it was one of those projects where you spin your wheels, you learn (AFTER remaking it twice!) and then it's just time to put it down.  I had this bracelet all but complete, for the second time, as shown in these first two pics below, just needed to finish the peyote stitch on one side of the magnet to cover the silver - when I put it on to show my hubby how lovely it had turned out - and, splish splash... one of the tiles came loose (and the tiles are critical, since they make up the base of the pattern) and the rest came tumbling down thereafter.  Yes, I bead tight, and my tiles must have been sharp on the inside, because the fireline looked like it was cut, even though I had gone back through the entire bracelet two times. Oh me oh my... what a sad day for me.  A beautiful bangle bracelet pattern designed by Vezsuzsi and taught by the lovely Sandy at Bead Street.  So... nothing left to do but let my own creative juices flow.  I just started stitching with all the same beads, sans the tiles, to make my own pattern.  See below for that project.


My JDreams original below - not as fancy as the intricate pattern above, but I'm in love with it, and so far so good - it's wearing just fine...out of disappointment comes new light, or creativity ... or something like that! HA!


8/26/2014

EYE CANDY --NEW EARRING, BRACELET AND RING DESIGNS!

Some adorable little daisy ceramic pendants I bought from BoHully Beads.  The size is perfect for earrings, so I added some czech glass donuts, melons and flower caps to make them really pop in the sun of day!  


A new bracelet designed by Deborah Roberti called Venetian Cuff, taught by Sandy Taylor at where else? Bead Street.  It's gorgeous in person.  I used kind of a multi brown 4mm fp w/brighter rust/red 3mm fp and copper 11/0 sbs all around.  Then added the small copper tube beads together w/ 15/0 sbs on the outer edge to give it a little additional JDreams oomph!


And last, but certainly not least, this adorable little flower bracelet in a ring!!!  I found this color of 12/0 seed beads and just had to make something (although they were awful size-wise, and I had to cull through them to try and get most of them close).  I started with a peyote strip and decided on a ring.  Then just started adding - a ceramic flower on top, some greenery, a couple flower bead caps, o-rings and 8/0 sb.  Oh, and the drops on the top outer edge.  This turned out soooo cute.  My new fav! It's an eye catcher on my hand!


8/22/2014

CERAMIC PENDANT HEART ENSEMBLE

This is one of my favorite pieces (well, they all are!), sold to one of my best customers!  I love these ceramic "Golem" designed hearts.  They aren't too big and come in lots of different color designs.  The coral and green are so great together, and you can wear it all year- round.  Some fire polish, some glass rounds, some wonderful little cut coral flowers with coral rounds, strung together with these darlin' bronze flower bead caps, chain and spacers.  I know this piece will bring you lots of joy when wearing, Kriss! 


8/21/2014

BACK TO HEARTS N EARRINGS!

I can't get enough of these hearts... have I said that before?  Well here I go again... The black / crystal / copper is using 4mm fire polish all around with 11.0 sb.  The colored versions use 4mm Czech rounds instead, with the fire polish on the outside.  I'm kind of liking the different look of the rounds in the center.  What do you think?


Earrings to match this previously made heart for my darling daughter in law, Lindsey.  Love the translucent turquoise colored glass flower beads.

And, then a re-make of a pair of earrings after one original was lost.  Unfortunately I didn't have enough of these incredible AB blue/purple Swarovski crystals left, so I remade the set with only four crystals.


7/31/2014

NATIVE LOOKING EARRINGS/NEW BRACELET DESIGNS USING O-BEADS

I couldn't resist trying these drop earrings from the design in my July 1 post - the Marcia Balonis Spring Loaded design -- the pattern is so versatile, you can make as many components as you would like I made two components for these earrings and I think they are pretty perfect.  Any more might be too heavy.


A new design called "J-O-sef" by Vezsuzsi, taught by Sandy Taylor at Bead Street using superduos, rizo beads, o-beads and 11.0 sb.  I added the pearl/Czech glass beads down the middle just to add a bit of splash and they also help the rizos stand up like little petals.  


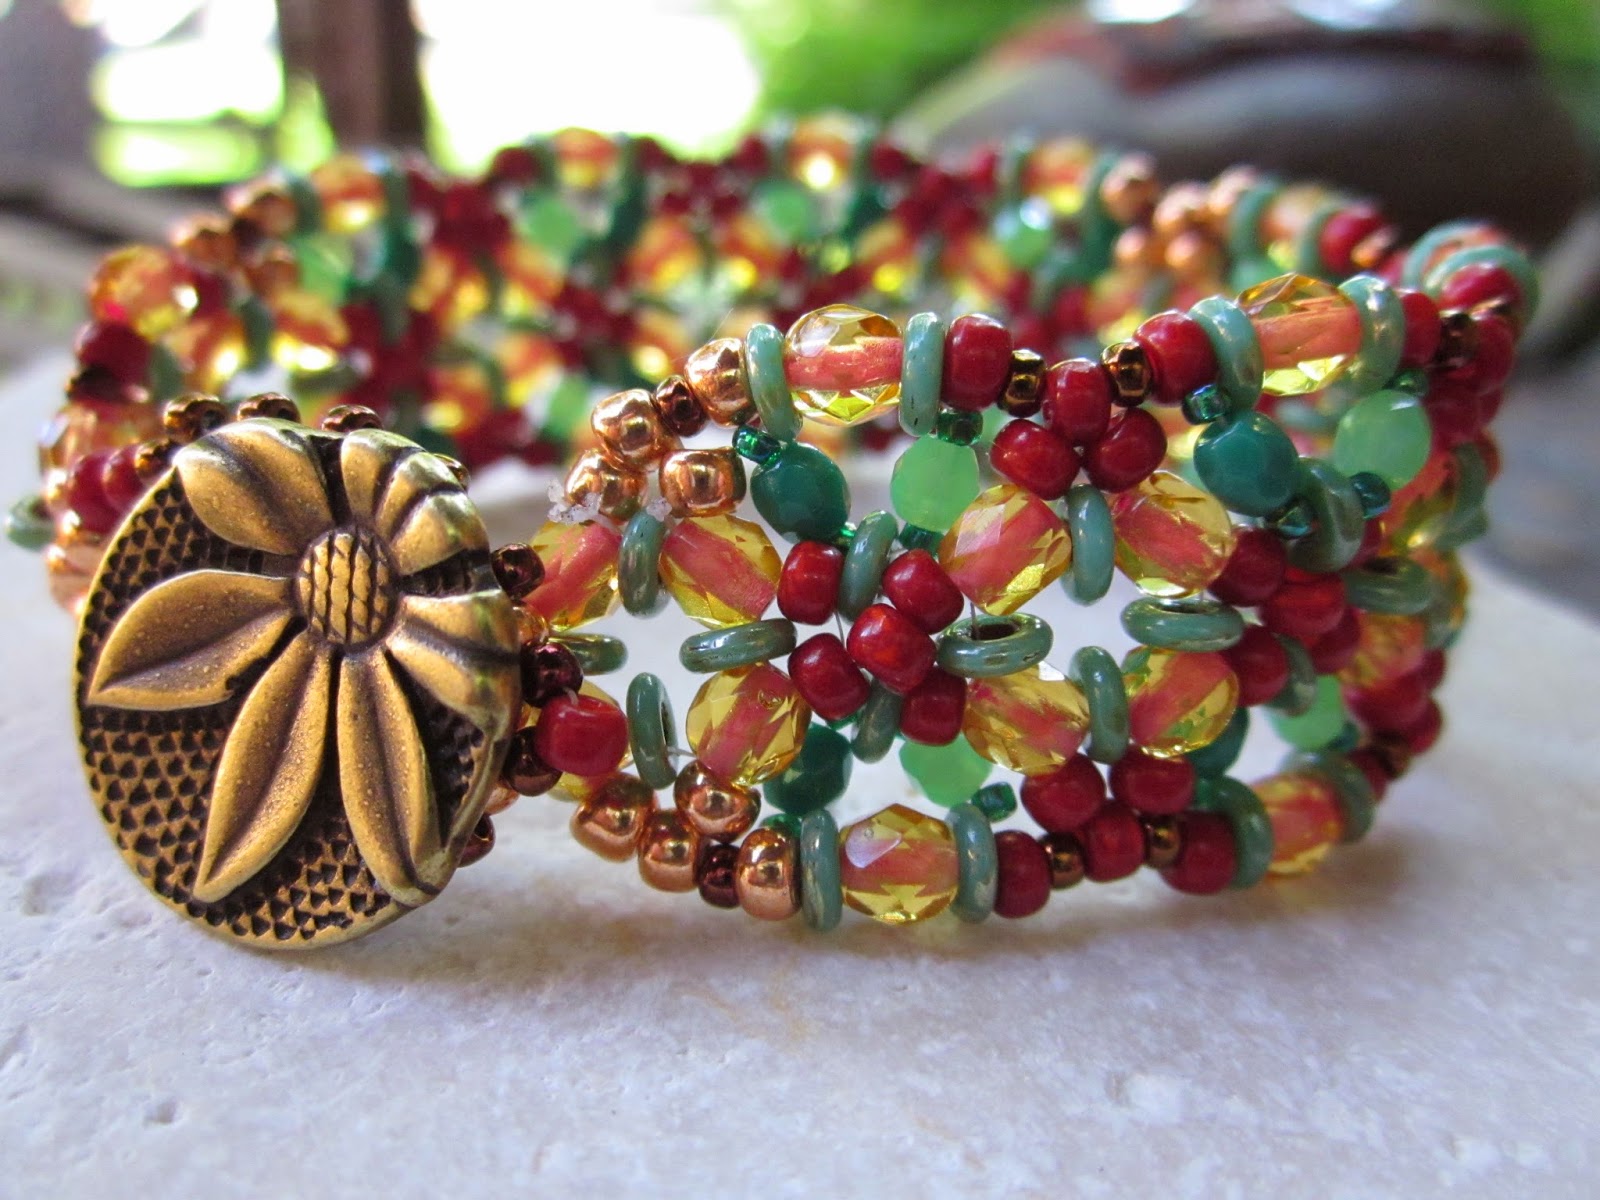
This is another version of my July 14 post, showing totally different colors using the "O bead" design by Marcia Balonis.  The colors just meld in this bracelet.  I have gathered beads from wherever I travel, and so I started looking in my stash... imagine that!  Using beads I already have... totally new concept!  But, I digress...  The peachy fire polish beads I used from my stash were perfect with the turquoise and greens and darker reds - I found them in a little store in Helena, MT.  The finished color combo looks very Santa Fe-ish!  :) 


7/14/2014

PINCH BEADED BEADS in a completed set and O RINGS bracelet pattern.


Finished my necklace and earrings, from my previous post of the pinch beaded beads I learned at Bead Street week or so ago.  I added a few more beaded beads, some Czech glass pearls and some new Czech shapes, and Ohhhh My, the finish on these brand new Czech glass beads is absolutely incredible.  If I could afford all of the strings Eileen had, I would have purchased them!!!  It's fun to have a new grouping of shapes.  This necklace is really a beautiful piece, w/earrings to match.  Yummers is all I can say on the meshing of the hues in varying shades of blue/grey/green/copper/gold and bronze.


NOW FOR THE NEW DESIGN using the new Czech "O" Rings.  A bracelet designed by Marcia Balonis, taught at Bead Street by Sandy Taylor.  A different grouping of colors for me in that I really started out wanting to make something that would go with black.  I started with the 4mm dark grey fire polish, had additional 3mm black fp on my beading pad, but then couldn't go through with it.  I needed something to make the copper/silver/grey pop, so used more of a mustard 3mm.  This is really fun - colors in person are really more unusual and blended than it shows here.