Showing posts with label 4mm fire polish. Show all posts
3/20/2019
OWLS!
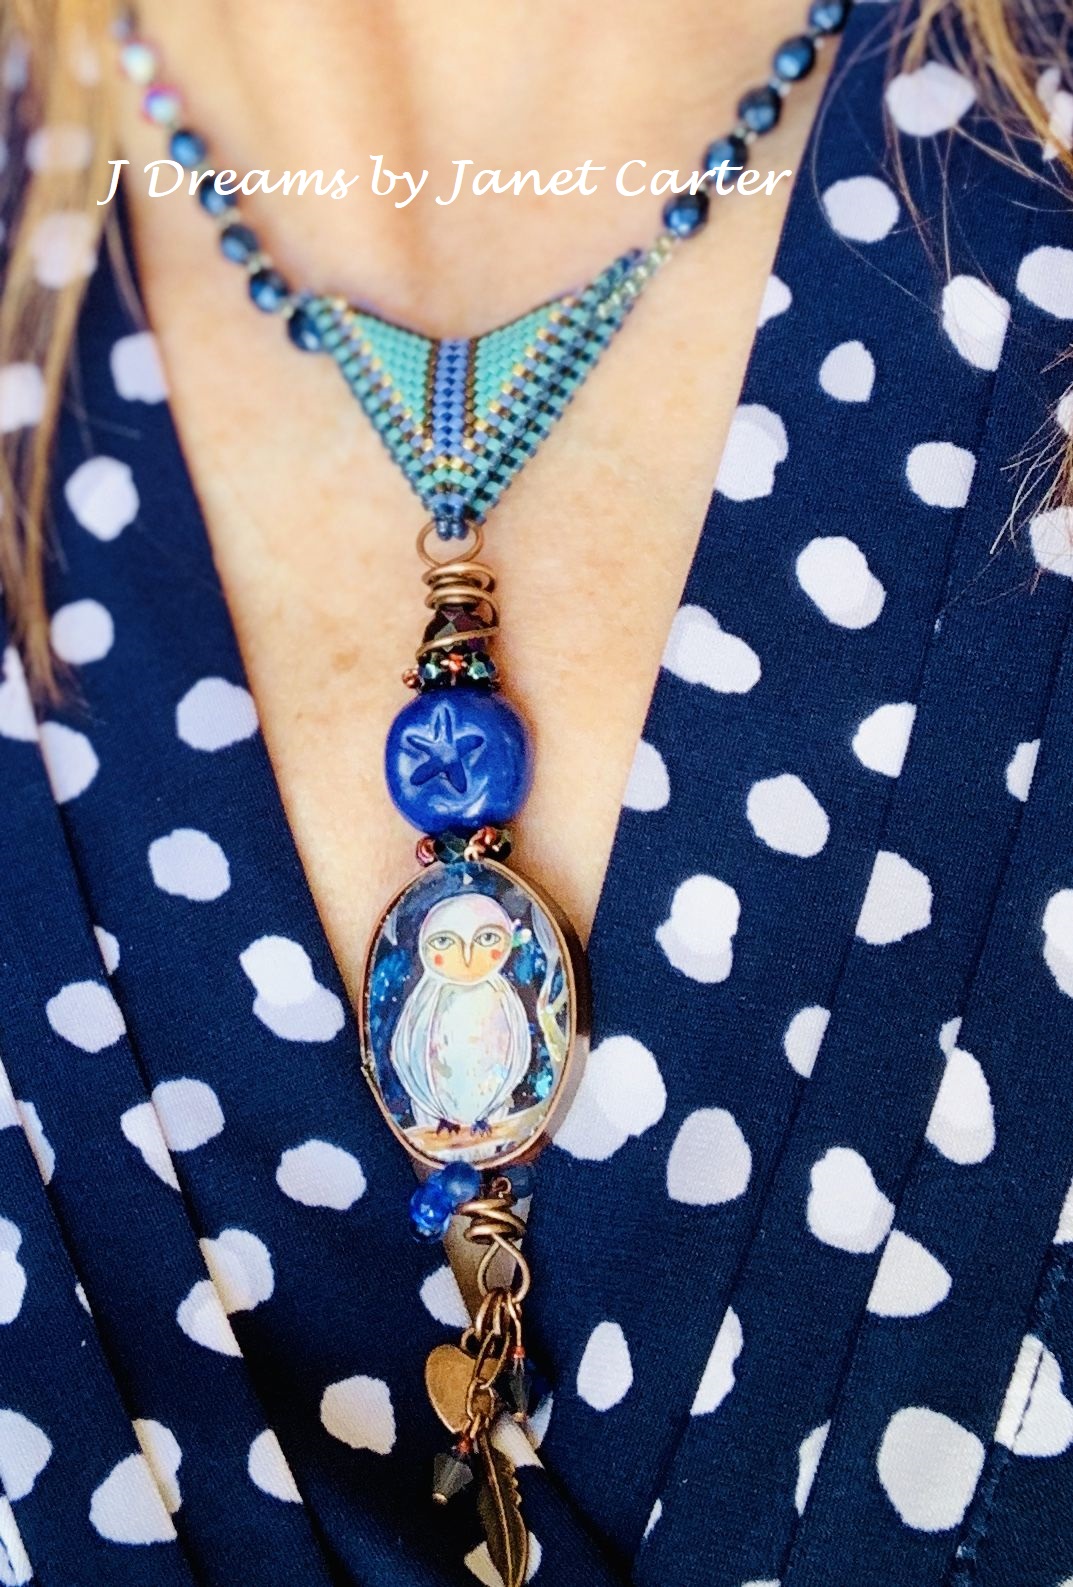
Aren't owls such incredible birds? Britannica refers to them as the bird of Athena, the Greek goddess of practical reason. Makes total sense to me - and I am totally drawn in. Some owls moved in to our back yard a few years ago, nesting in a very old, mostly dead tree that had lots of internal nooks and crannies and external year-round foliage. They were white and gray, so I think they were juvenile grays based on the Idaho F&G site. My husband didn't believe me when I whispered "THERE ARE TWO OWLS ON THE FENCE", but he slowly came to where I was and saw them with his own eyes. Sometimes that's what it takes... for him to see with his own eyes!! But, back to the owls... it felt like a magical moment to have them in such close proximity and in our garden! From that day forward, we started hearing their haunting hoots and calls on a regular basis. So, to have Gaea capture their beauty in her art work and art beads is a wonderful gift. The eyes draw you in immediately. This finished piece started with the owl and became what you see. Something about Gaea's art brings out the best in me too...
The ceramic bead is also from Gaea. I felt like the blue star went perfectly as part of the arrangement. I wire wrapped 4mm fire polish and 11.0 seed beads around the top and bottom and then added some blue translucent drops around the bottom of the pendant. The top piece is herringbone stitch. It just felt good as I put the pieces together...
3/02/2018
BRICK STITCH ON WOOD!
I found these wonderfully designed wood rounds somewhere... can't even remember where, but I was trying to come up with a new idea for earrings, and these popped out at me from my rather large stash oh beads and stuff! I wondered what I could do to jazz them up a bit, and brick stitch came to mind. These are not for the faint of heart as they are a statement in size alone, but so light you don't even know you are wearing them. I knew someone special who could carry these off... and by golly, she sure does!
The first pic is a bit dark, but it highlights how the blue/green transparent 8.0 seed beads at the top pop in the light. I also added some Vintaj paint to a few of the spokes for additional interest and to draw your eye to the wonderful design. Love how these turned out!
11/28/2016
FALL LEAF REMAKE
I love it when a piece of mine speaks to you, enough so that you want one of your very own! That's what happened with my Falling Leaves Ensemble posted on September 27. Here's a slightly altered version of the necklace and earrings made by special request. Just enough of a change - different pendant hanging from the newly beaded necklace, with some wire wrapping and Swarovski dangles, along with new shorter version of leaf matching earrings.
9/27/2016
FALLING LEAVES ENSEMBLE!
I know I've said it before, and yes, you're gonna hear it over and over -- I love this time of year because it presents such a wonderful opportunity to make gifts and create jewelry for my favorite holidays... fall birthdays, Halloween, Thanksgiving, Christmas... :). The colors always speak to me, as the weather starts to change, and as the leaves take on their new gorgeous shades of red, yellow, orange, brown, I start to imagine special pieces. I started this piece, designed by Deb Roberti, because I loved the shape of the necklace design, which sits so nice and flat on the neck. It really started to speak to me as I alternated 4mm swarovski crystals with the 4mm fire polish -- it didn't over pop, but was just right, and in the sun, or specific light, oh it is so gorgeous! I added something leafy to give it the fall feel... a J-Lynn Jewel's wood pendant with a few fire polish added for some dangle movement. Someone is usually on my mind, spurring me on as I start my pieces. And, this one said LU LU!!! So, here's my creation for this year's birthday. Lu, may you wear these pieces and feel my love for you each time you do. xo
8/26/2016
THE STARS ARE OUT!
I was looking for a pattern using czechmates 2-hole superduos and found this star by Deb Roberti - Deb is so generous in periodically providing free patterns. And, her patterns are very detailed and easy for this ol' gal to follow. Thanks, Deb! I have several people in my life who are true stars in my eyes... so this pattern spoke to me. I'm on a roll now, so you'll see more of these as I try different color combinations. Here's my first one.
3/28/2016
THE PARTY OF SPRING
The start of spring, the Easter holiday and the awakening of all beautiful flowering trees and flowers really get my color juices flowing. So, a couple of my new earring designs to get this party of spring started...
1/11/2016
"RIGHT IN LINE" PUBLISHED BRACELET DESIGN!
A beautiful new bracelet design (Right in Line) by my mentor, bead store owner, incredible designer, and MOST IMPORTANTLY good friend, Eileen Barker -- just published in the Bead & Button, February 2016 issue. An ELEGANT design, and one that will take your breath away, both while you are making it, and once completed. It's a substantial, weighty, gorgeous piece.
We convened for a group beading day, and tried to follow the condensed instructions in the magazine. It doesn't get any better than having the designer at the beading table with you! I like to have a longer thread, which for this piece, I now know I need to reconsider. My length of fireline kept catching on all the other beads, the further into the piece I got. Yes, Eileen, I'm listening... I need shorter thread. Thank you for this incredible design. LOVE IT!
And, as you'll see below, I altered the design ever so slightly and added in two 4mm fire polish on my first row, when it was supposed to be one, so I went with that and alternated every fourth row with the two, plus used a different color.
We convened for a group beading day, and tried to follow the condensed instructions in the magazine. It doesn't get any better than having the designer at the beading table with you! I like to have a longer thread, which for this piece, I now know I need to reconsider. My length of fireline kept catching on all the other beads, the further into the piece I got. Yes, Eileen, I'm listening... I need shorter thread. Thank you for this incredible design. LOVE IT!
And, as you'll see below, I altered the design ever so slightly and added in two 4mm fire polish on my first row, when it was supposed to be one, so I went with that and alternated every fourth row with the two, plus used a different color.
6/17/2015
SUMMER EARRINGS!
One really can never have too many earrings, right? Here are a few of my latest creations!
| Another color variation of the pattern above. These pellet glass beads are a fun new choice. |
2/23/2015
TWO-SIDED BEADED BEADS!
A fun new pattern using beaded beads! I made the bracelet pattern into a necklace, with a couple of slight alterations, and strung a lovely heart pendant by Humblebeads. Plus, earrings of course! The bead pattern is a Vezsuzsi bracelet pattern she calls "Edgar", taught by Sandy Taylor at Bead Street. I chose to use peachy/pinks/maroon shades, with copper and silver interspersed using 11/0 and 15/0 seed beads. I also used bronze wire to wrap the pendant, so it's a mixed bag of colors for sure. Copper colored Czech O rings are inserted on either side of the 6mm pearls to enhance the color shade change to the 6mm fp. I'm liking this combo very well!
12/02/2014
NEW CHRISTMAS DESIGN!
Learning a new beading pattern or technique is such a gift to my mind and my soul (especially this stressful time of year!) and I am so grateful to Eileen Barker, owner of my favorite bead store, Bead Street, and those who work beside her, Sue and Irene, and Sandy Taylor, who teaches many of the classes I take! Thank you SO MUCH! I enjoy my time in that shop so much!!! So... getting back to the beading at hand... here's what we learned last weekend - a bracelet pattern which I made into earrings (Fritch bracelet) designed by Vezsuzsi. I also made a necklace, and unfortunately, lighting is difficult this time of year. When I took some of these shots, the sun happened to be out for a minute, so I hurried for some natural lighting. These earrings are not quite as light as shown, the second picture reflects better color. I also used 4mm FP for the round circle in the front, and on the the pendant I used 4mm Swarovski bicone crystals around a coral gemstone center. Again, color slightly less bright in reality. Kind of fun to see what a difference a bead makes in a design. Both equally beautiful, just different.

And, some darlin' little light wreath wire wrapped earrings to match the necklace. SO CUTE!
11/21/2014
ODE TO FALL...
My newest dangles for the season, which work for one more week, thank you very much! Thank you to Penny Dixon, Trendsetters designer at Starman, Inc., for this wonderful earring pattern. It's on the COVER of Beadwork's October/November issue. It's an intricate, beautifully put together design using netting and picot stitching, and as you can see, the color combos are endless. I wanted to do something for Thanksgiving, and these beads I had in my stash, so kind of jumbled them together. These brown/translucent pear shaped drops are hard to photo to highlight the beauty of the markings, but you get the idea. My friends and I think these look a bit like turkeys! All the better!
8/26/2014
EYE CANDY --NEW EARRING, BRACELET AND RING DESIGNS!
Some adorable little daisy ceramic pendants I bought from BoHully Beads. The size is perfect for earrings, so I added some czech glass donuts, melons and flower caps to make them really pop in the sun of day!
| A new bracelet designed by Deborah Roberti called Venetian Cuff, taught by Sandy Taylor at where else? Bead Street. It's gorgeous in person. I used kind of a multi brown 4mm fp w/brighter rust/red 3mm fp and copper 11/0 sbs all around. Then added the small copper tube beads together w/ 15/0 sbs on the outer edge to give it a little additional JDreams oomph! |
Subscribe to:
Posts (Atom)
