6/29/2017
SEA HORSE HAPPY!
Best laid plans for showcasing this darling seahorse necklace ... reminder to self - proper lighting is so important for photographing any creation. When done properly, it highlights the colors and beauty of any finished project. On the other hand, if the light isn't great, the piece ends up looking to be less than it is. Unfortunately, this post was not taken at an optimum time of day and the natural light was way too bright. I can't retake the shots as the piece has gone to a new home, but luckily I was able to reshoot the earrings (last shot). Love my paint choice on the little Vintaj moons and over the large Czech pear drops they really pop and mesh with the shell chip colors in the necklace. And, about that necklace... even though the lighting isn't perfect, it is an adorable piece, so well worth showing. It began with a J-Lynn burnished wood tile pendant. These tiles from Janice are so light, they truly can make any piece weightless, making it easier to add adornments of different weights from there. Seems like most of my pieces start out with a heavier centerpiece or pendant, which limits what I can add to it. On this piece, I kept the whole necklace light by adding a dangle with a painted Vintaj leaf, some 3mm fire polish, and a Czech glass star and flower and "o" rings to finish it off. Then some colored shell chips and jasper tubes to complete the necklace. A very fun, colorful summer piece that rests easily on the neck...

6/27/2017
SUNFLOWERS OF A DIFFERENT HUE!
A piece incorporating both Tracee Dock [Classic Bead] and Gaea Cannaday in this one wonderful necklace. I have a stash of both artist's creations and I truly need to quit hoarding them. So, I chose this incredible, and so unusual, stoneware blue/green/yellow sunflower button from my Tracee stash and started wire wrapping with 18 gauge copper wire I had patinaed. While it took me a couple of different wraps and subsequent removals of all the wire (#$%^&) plus a few choice words along the way... the resulting necklace is pretty unique and wonderful. I added one of Gaea's larger round beads in green, with a dangling copper heart, and some 3mm fire polish to both the chain and the dangle. See what you think -- I think it's pretty fun!
And, I added some darlin earrings to this set below. Before I finished them I found some small lapis hearts to add to the top. Love this set -- and, it is now SOLD!
6/20/2017
MORE HAMMERING!
The creative juices are flowing from the end of a hammer...another hammered wire design, using a favorite "go to" artist's pendant, Staci Louise Originals. There are some truly talented artisans whose work is incredible -- they never disappoint, and you will see their beads and pendants, etc. in my work over and over again. And, as each artist's view is unique, it helps me change gears to incorporate their style and quality into my own creation. This hammering art (thanks again, Heather Powers) could not have come into my consciousness at a better time, I tell ya! Timing is everything and I am really enjoying it. I also incorporated a Golem yellow round in the bottom charm.
6/13/2017
CATHARTIC WIRING W/A HAMMER!
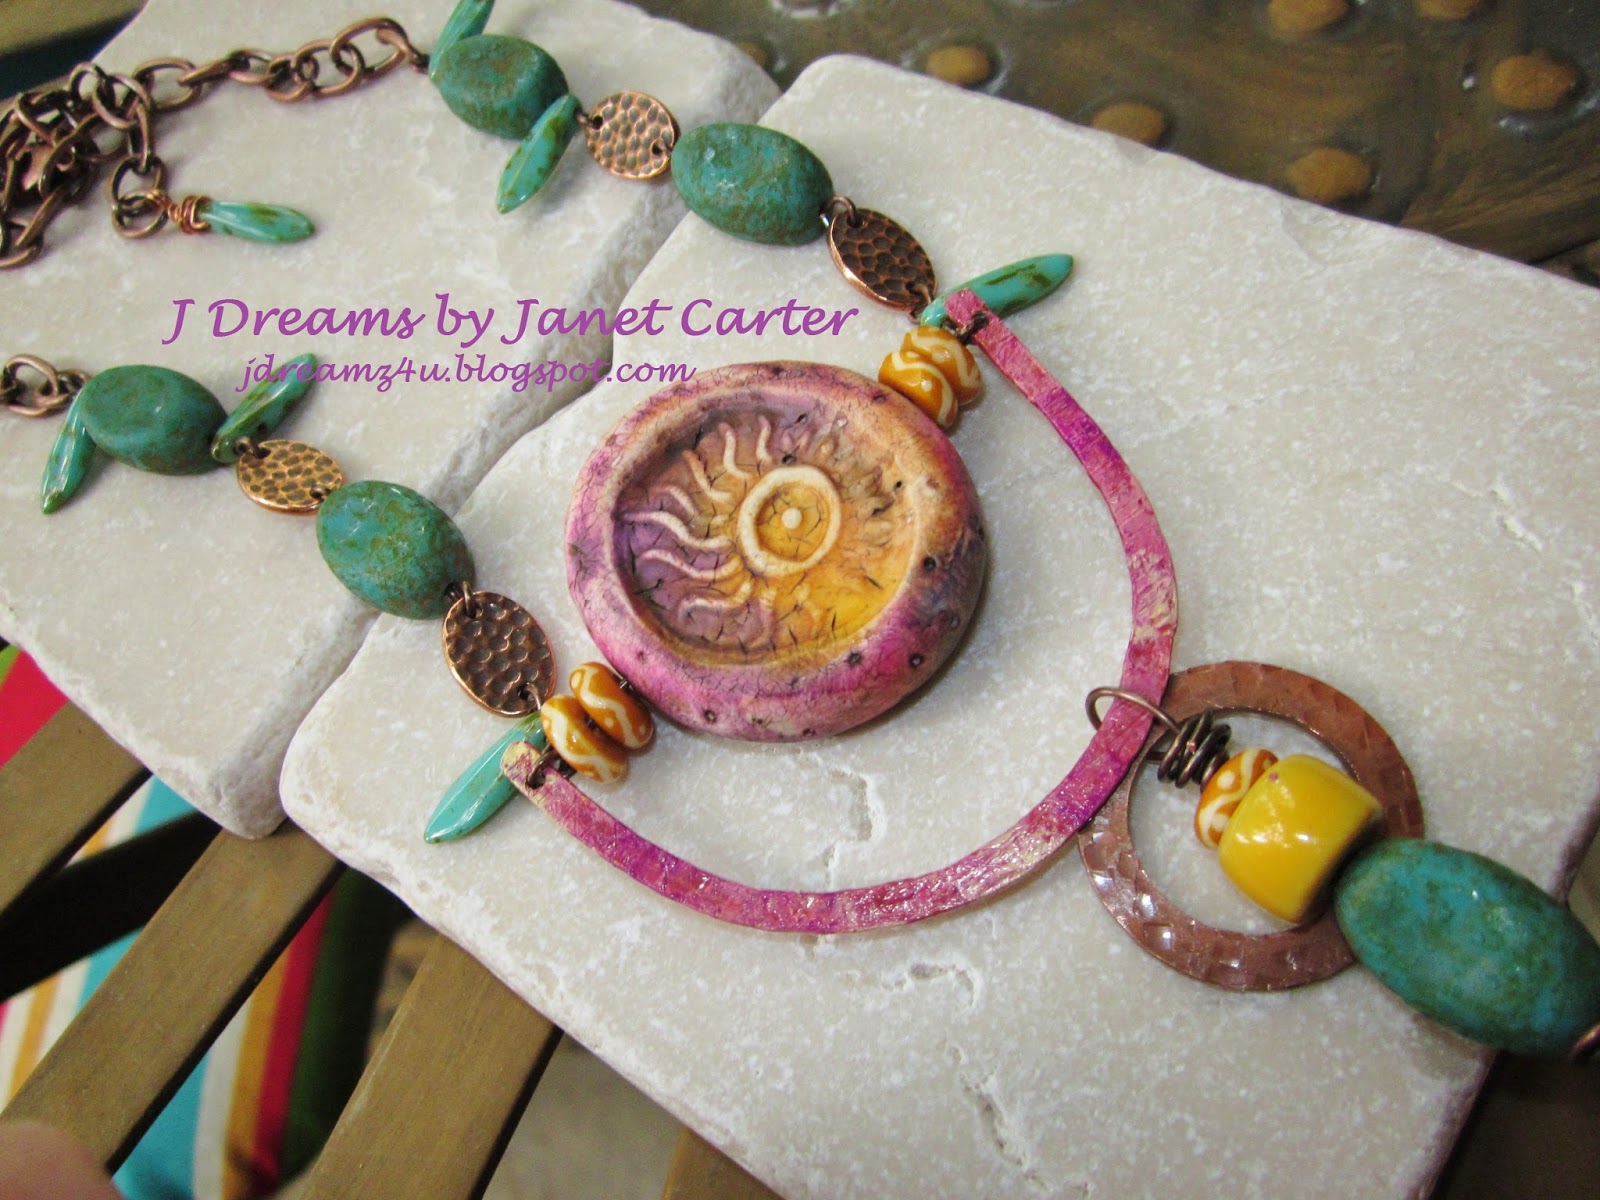
Something cathartic about using a hammer and pounding on anything, but especially metal and watching it transform from it's original form! Thanks to Heather Powers of Humblebeads, for her generous "Bead Table Wednesday" live podcasts, which truly inspire. It looks easy when she does it, but I must confess this project was NOT! I found hammering 14 or 16 gauge copper wire to a flattened state and then centering my hole punch as not to drill right through the whole end ($%^&*@#) a difficult task! So, I came up with an alternative method to achieve a similar look. I used 12 gauge floral wire (which looks to be copper but of course is more an artistic wire with a protective covering). As I continued to hammer and flatten the wire, the coating started to peel, but I just kept going cuz I knew it would work! Once I was sure I had punched an acceptable hole on both sides of the "U", and had it properly flattened, then I used some light sandpaper to knock off the loose pieces and got creative with my vintaj paints. LOVE how this turned out. I also used one of Heather's incredible polymer clay tubular beads and one of her birds. Totally new style and look for me. Thank you so much for inspiring me Heather!
6/12/2017
LARGER THAN LIFE AND ONE MORE BUDDERBYE SMILE!
I'm kind of hooked on this Tree of Life pattern... and since
practice makes perfect on wire wrapping... I'm keeping this wrapping frenzy
moving. This version is slightly larger than my last post, and I used patinaed
copper wire,which worked better than the artisan wire I had used last, for both
strength and shape. I also have trouble making the exact same pattern
more than once, so I added a few leaves at the bottom. FUN! I have
not yet come up with the necklace part, so it may end up on chain. I
don't want to distract too much from the beauty of the tree, so we shall
see.
5/18/2017
LIFE...a fly...AND A BEAUTIFUL TREE!
I've been
looking at this Inspiration project on Fusion Beads' site for awhile - I even
printed it off a few times, thinking I would get to it, but didn't, until
finally...over a few evenings last week and a bit over the mother's day
weekend, found myself with some extra luxury time... so decided to start
cutting pieces of wire to see if I couldn't get my own "Tree of Life"
pendant put together. It's a project that's difficult to put down once
you start, as there are multiple wires sticking up in a small space ready to be individually
wound. But, I can honestly say I LOVED THIS PROJECT. It is creative and
challenging. [As an aside, I made my
own wire frame on this version, which created a few challenges along the way
- I used 20 gauge wire (hindsight says 16 or 18 would have been better).
Sturdiness did become a small issue as I got further along in the wrapping
process, as it kept changing shape, even though I had hammered for strength - note to self for next one.] Once I got the trunk wires all wound and
was happy with the way it looked, it was just a matter of placing the fire
polish bead branches and continuing to wrap. What about that "fly" you say? Well... Funny story! As I was
taking the photos, I didn't notice a fly had come to perch right on one of the
branches of the Tree - see if you can spot him in one of the shots below.
So so F U N N Y what you can't see right in front of you until it is enlarged! :)
5/05/2017
FLOWERING MOON INSPIRATION
My newest creations using a Flowering Moon pendant by Gaea Cannaday. Her latest hand formed copper and resin pendant creations are so incredible. They look and feel so happy and wear beautifully. The colors in this piece - from the moon, to the rays of hope and love that exude, well, all I can say is thanks so much Gaea for inspiring me...my pictures do not do your pendant justice. Necklace and earring designs by JDreams.
4/13/2017
EASTER BRIGHTS AND BUDDERBYES!
Happy Pre-Easter Weekend! My beading continues to be a bit sporadic in 2017, hence the distance between posts. I'm working on it... but it's slow, so I'll just say I've been out of sync... I do hope for the days to return where I bounce out of bed with a new design or color combo in mind, or the happy anticipation of spending time at my beading table, to finish a project I have in process. The "feelin' it" part of my creative soul is a little lacking... I'm working on that and these beautiful bright colors sure help. Yes, the reawakening of color in spring inspires - Yeah for that! So, without further delay, here are a few projects I haven't yet posted -- a couple pairs of Easter earrings just completed in time for wearing; a peyote pair that go with a bracelet from a previous post; a bracelet in metallic tones; and, a new FAVORITE piece of mine - a Budderbye, as our now 7 year old grandson used to refer to butterflies. I will forever call them that... with love in my heart and remembrance of that first time I heard our adorable boy say ''BUDDERBYE". It always makes me smile.
And... drum roll... here's that BUDDERBYE I referred to ... a pattern design by Margherita Fusco [April 2017, Bead and Button]. This color combo is incredible in the sunlight.
And, a bracelet in copper tones, which really doesn't photo very well. It's much prettier in person. Design called Denali Cuff designed by Carole Ohl.
These darlin primary color dangle peyote earrings were made to be worn as a compliment to the peyote bracelet in my March 6, 2017 post.
Subscribe to:
Posts (Atom)